Android Device Mirroring and Recording

Mirroring and Recording what is on your physical Android Device to your computer isn’t trivial, but is an important skill to have as a developer. Being able to share and record what you see on your Android screen is super helpful for live demos, your GitHub PRs, and blog posts. There are a lot of ways to do this, but there is no perfect way of doing it.  I’ll walk you through my flow in this post.

I used Vysor for a long time, and think it’s a great tool to use to mirror your device onto your computer.  Vysor is really easy to use, but the free version does have feature limitations such as mirroring quality, and advertisements every 15 minutes. When I tried scrcpy with my development setup, I found that for me it worked the best out of any of the other tools to do this.

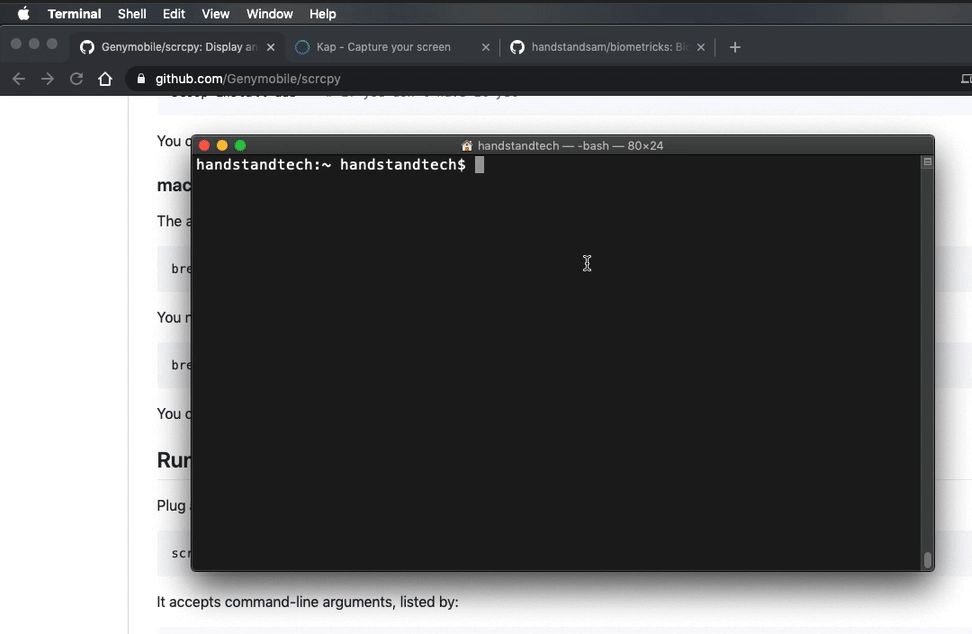
See the scrcpy GitHub page for all the instructions, but if you are on a Mac, already have “adb” configured, and have homebrew, then just run brew install scrcpy.  After it’s installed you can just type “scrcpy” into your terminal and it’ll launch device mirroring.

Now that you have your Android device mirroring on your computer, you need to record it.  There are a lot of tools that allow you to screen record into a GIF, but I use Kap.  You can launch Kap via the menu bar with this icon:

Then select an area of your screen manually,

… or choose an open application window.

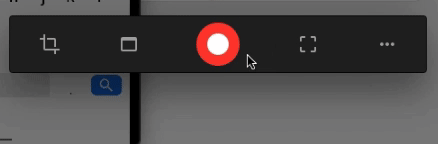
After you are done recording, stop the recording with the button in the menu bar.

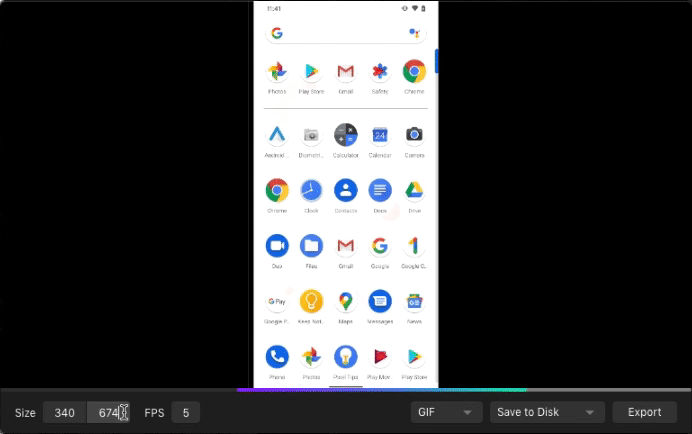
Trim your content, select resolution, frames per second (FPS), export format (GIF, MP4), and export!

Drag and drop the file into your GitHub PR.  NOTE: 10MB is the limit for image attachments in a PR, so adjust your frames per second and image resolution to find the right size.

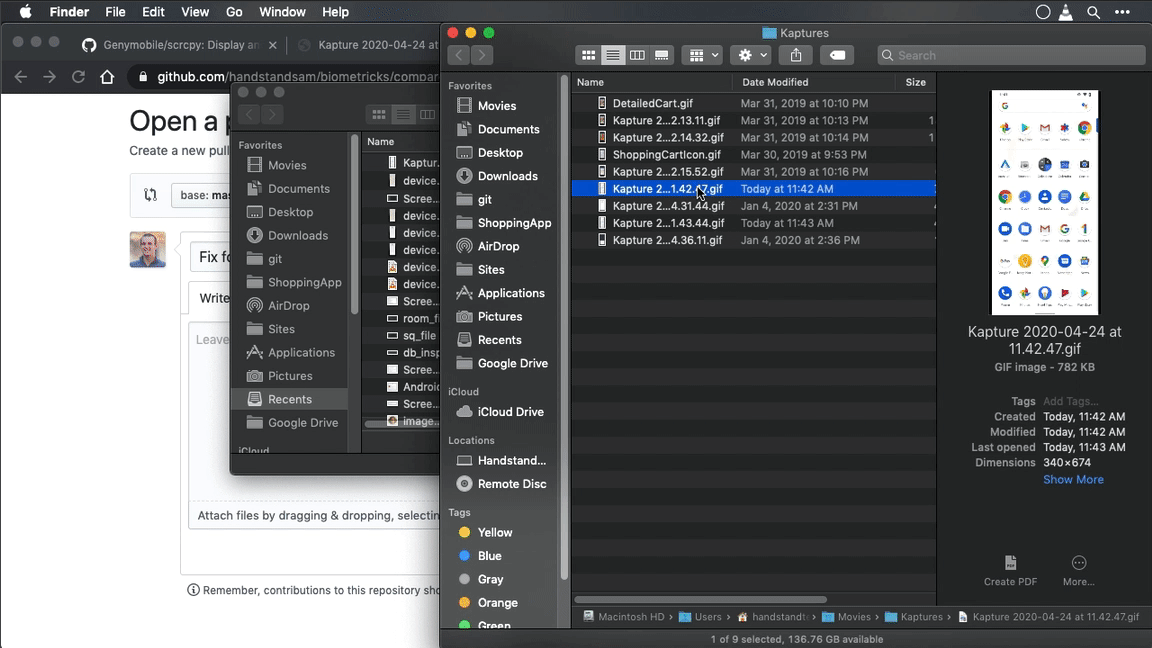
Your PR has a GIF of your device! 🎉 This makes your PR a lot easier to understand to a reviewer, and anyone looking back at this PR in the future.

Conclusion

Adding GIFs to PRs and blog posts really keep readers engaged.  It especially did if you are actually reading this far 😎.  I hope my you find my recommendations something that help your Android development and content creation!

Links:

Companion Video on AsyncAndroid

Hitting Publish is the Hardest Part of Blogging

I had been sitting on the draft of my post “When You Should Use Null in Kotlin” since November (for 3 months) because after I had a colleague review it, I wasn’t sure if my views were valid.  My colleague told me about “null, the billion-dollar mistake” and asked if I was just trying to “stir the pot” with a possibly unpopular opinion. That made me question if my views were actually valid, so I didn’t hit “Publish”.

Draft was Last Modified 3 Months Ago

Validation

Earlier this month, Roman Elizarov (@relizarov), from the Kotlin libraries team posted an article which validated my thoughts I shared in my draft post, null is something to use, and not completely avoid:

I was excited to see a like-minded post from one of my software idols who designs the Kotlin language:

Chatting with Roman at Google I/O 2018

Thanks to this validation, I finally got up the courage to finish my post which took many hours and reviews, but I finally published my article. 😄 Thanks Roman (@relizarov)!

Non-null Opinions

I encourage you to share your opinion on topics where you have spent enough time digging into a topic to develop one.  So much of computer science is subjective, and there will always be varying opinions.  As long as you have identified reasons why you feel a certain way, those are valid.

It’s okay to share your thoughts.  Your opinion is non-null 😂.  Be humble enough to listen to others and allow yourself to use objective reasoning to help shape your understanding.

Leverage The Community

The Android community has varying opinions on many things, but that isn’t a bad thing.  There is no single way to do something, and whether or not something is the right solution depends on the use case, and the skills of the team.

Many members of the community are there to help.  I encourage you to reach out and ask for feedback from more than one person as it will help you get well rounded feedback.  Before I published the post I got feedback from @molsjeroen, @ataulm, @ZakTaccardi, @gpeal8 and @jarvisapps.  Each person had slightly different insights, and it helped me create a higher quality post.

A Checklist for Hitting Publish

  1. Write your content
  2. Add applicable content/images/code
  3. Review your content as if you were a reader
  4. Ask for reviews from 2+ people
  5. Address feedback
  6. Set a time limit (3? days)

I put together this checklist to help guide me in the future, and hope it will allow me to publish more posts!  I have at least 5 more drafts in my head that I need to get to next.  By publishing these articles, I’m able to get to the next one, and hopefully help someone publish theirs.