Multi-module Android projects are now the recommended way to take advantages of performance improvements with Android Gradle Plugin 3+. However, as we add more modules to our project, we quickly run into the issue of dependency management.
Different ways of managing Gradle dependencies:
- Manual Management
- Google’s Recommendation using “ext”
- Kotlin + buildSrc
1) Manual Management 👎
This is the way most of us have been managing dependencies, but it requires a lot of manual changes whenever you upgrade a library to ensure that versions are updated correctly.
module_a/build.gradle
implementation "com.android.support:support-annotations:27.0.2"
implementation "com.android.support:appcompat-v7:27.0.2"
implementation "com.squareup.retrofit2:retrofit:2.3.0"
implementation "com.squareup.retrofit2:adapter-rxjava2:2.3.0"
implementation "io.reactivex.rxjava2:rxjava:2.1.9"
module_b/build.gradle
implementation "com.android.support:support-annotations:27.0.2"
implementation "com.android.support:appcompat-v7:27.0.2"
implementation "com.squareup.retrofit2:retrofit:2.3.0"
implementation "com.squareup.retrofit2:adapter-rxjava2:2.3.0"
implementation "io.reactivex.rxjava2:rxjava:2.1.9"
This is a lot of duplicated configuration that is hard to manage upgrades with, especially when you have a lot of modules.
2) Google’s Recommendation: Using Gradle Extra Properties 🙂
This is Google’s recommended way of doing this as seen in the Android documentation. It is also used in lots of Android projects, like ButterKnife and Picasso.
This method is great for upgrading libraries like the support library. Every support library dependency has the same version number, so only having to change this in one place is 💯. The same things goes for Retrofit, and many other libraries.
Root-level build.gradle
ext {
  versions = [
    support_lib: "27.0.2",
    retrofit: "2.3.0",
    rxjava: "2.1.9"
  ]
  libs = [
    support_annotations: "com.android.support:support-annotations:${versions.support_lib}",
    support_appcompat_v7: "com.android.support:appcompat-v7:${versions.support_lib}",
    retrofit :"com.squareup.retrofit2:retrofit:${versions.retrofit}",
    retrofit_rxjava_adapter: "com.squareup.retrofit2:adapter-rxjava2:${versions.retrofit}",
    rxjava: "io.reactivex.rxjava2:rxjava:${versions.rxjava}"
  ]
}
module_a/build.gradle
implementation libs.support_annotations
implementation libs.support_appcompat_v7
implementation libs.retrofit
implementation libs.retrofit_rxjava_adapter
implementation libs.rxjava
module_b/build.gradle
implementation libs.support_annotations
implementation libs.support_appcompat_v7
implementation libs.retrofit
implementation libs.retrofit_rxjava_adapter
implementation libs.rxjava
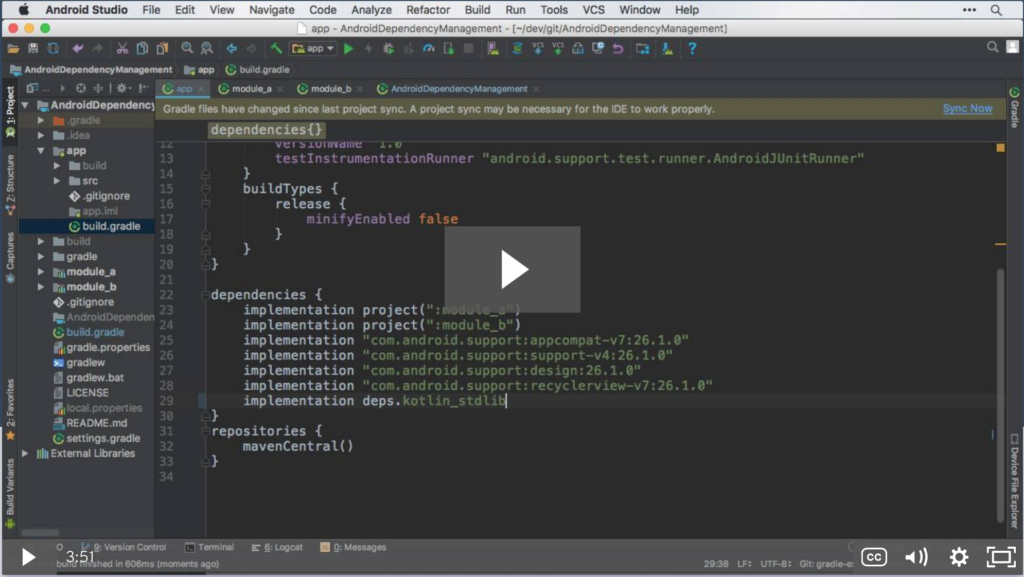
This is a huge step ahead from manual management, but IDE support is lacking. Check out this screencast of migrating to use Gradle Extra Properties (“ext”), and this Github pull request of the results.
While you can be content with using “ext” properties, I think you will be excited to use Kotlin in a buildSrc directory.
3) Kotlin + buildSrc == Android Studio Autocomplete 😎 🎉
You can create a buildSrc module with Kotlin code to manage dependencies and get IDE completion support.
From the Gradle Documentation:
When you run Gradle, it checks for the existence of a directory called
buildSrc. Gradle then automatically compiles and tests this code and puts it in the classpath of your build script. You don’t need to provide any further instruction.
You just need 2 files in your buildSrc module:
- build.gradle.kts
- Kotlin Code (In this case,
Dependencies.kt)

buildSrc/build.gradle.kts
plugins {
    `kotlin-dsl`
}
buildSrc/src/main/java/Dependencies.kt
object Versions {
    val support_lib = "27.0.2"
    val retrofit = "2.3.0"
    val rxjava = "2.1.9"
}

object Libs {
 val support_annotations = "com.android.support:support-annotations:${Versions.support_lib}"
 val support_appcompat_v7 = "com.android.support:appcompat-v7:${Versions.support_lib}"
 val retrofit = "com.squareup.retrofit2:retrofit:${Versions.retrofit}"
 val retrofit_rxjava_adapter = "com.squareup.retrofit2:adapter-rxjava2:${Versions.retrofit}"
 val rxjava = "io.reactivex.rxjava2:rxjava:${Versions.rxjava}"
}
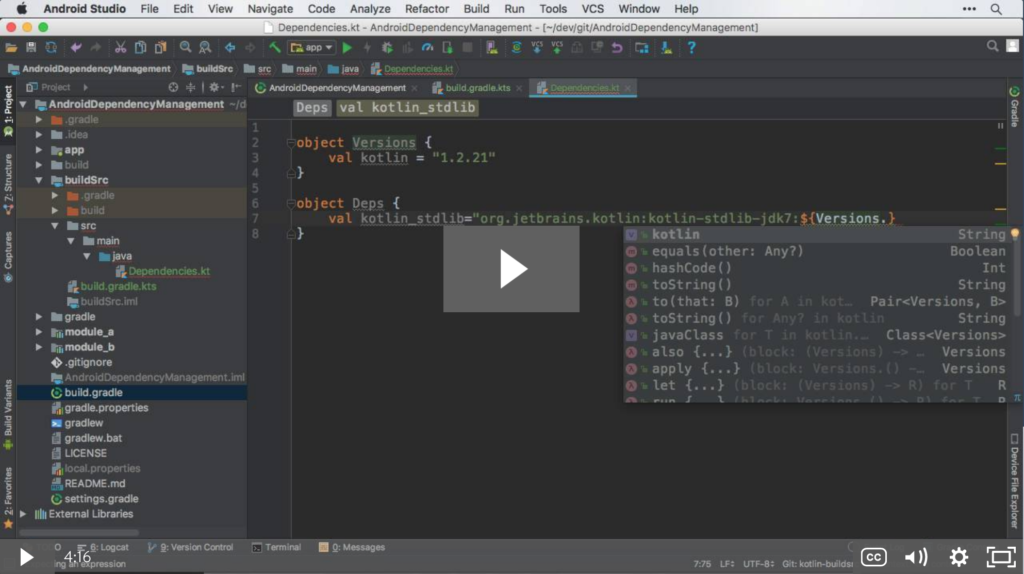
After we have done a Gradle Sync, following making the changes above, we can now access any of the values in Android Studio.
The result looks very similar to what “ext” looked like, but we have autocomplete and click support (to take you to the definition).
module_a/build.gradle
implementation Libs.support_annotations
implementation Libs.support_appcompat_v7
implementation Libs.retrofit
implementation Libs.retrofit_rxjava_adapter
implementation Libs.rxjava
module_b/build.gradle
implementation Libs.support_annotations
implementation Libs.support_appcompat_v7
implementation Libs.retrofit
implementation Libs.retrofit_rxjava_adapter
implementation Libs.rxjava
Check out this screencast and this Github pull request showing migration from Gradle Extra Properties “ext” to use Kotlin + buildSrc.
Conclusion
I highly recommend the “Kotlin + buildSrc” option. It may not seem like it’s that big of a deal, but managing Gradle dependencies is a pain, and having autocomplete and click support is a game changer. No more switching back and forth between files manually!
Related Caster.io Lessons on Gradle Dependency Management (FREE)
-
Gradle Dependency Management: Using Gradle Extra Properties (ext)
- Gradle Dependency Management: Using Kotlin and buildSrc for build.gradle Autocomplete in Android Studio
Related Links
- Antonio Leiva’s GitHub project “Bandhook-Kotlin” which uses the kotlin-dsl plugin.
- Writing custom logic with Kotlin in a buildSrc module from zeroturnaround.com
- kotlin-dsl: Kotlin language support for Gradle build scripts
- Gradle docs on buildSrc
Hat Tips/Thanks
- I learned about using buildSrc + Kotlin from @ZakTaccardi.
- I found out about the “kotlin-dsl” plugin from Antonio Leiva‘s “Bandhook-Kotlin” Github Project.
Questions/Comments?
Reach out to me on Twitter at @HandstandSam