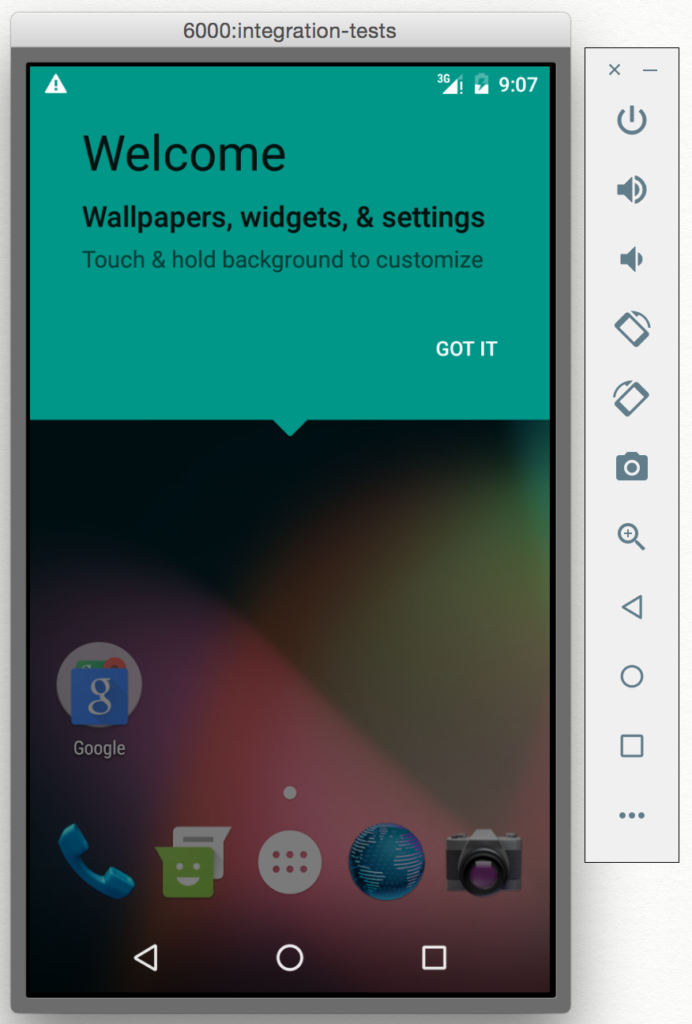
I spent the last few weeks figuring out how to get our Android Tests running on our Jenkins CI (Continuous Integration) server using the latest Android Emulator. I am sharing what I learned so that I can hopefully help someone else and so I can refer back to it in the future.
Result of this tutorial/example:
You will be able to programmatically create an Android Emulator AVD (Android Virtual Device), start it, wait for it to load, run your tests, then kill the emulator, generate a Spoon html test report.
Assumptions for this example:
- You have the Android SDK configured on this machine with:
- SDK components for API 23
- The latest build tools
- Google apis support
- API 23, x86_64 with Google APIs Image
- HAXM support installed
- You have an Android build flavor named “qa”.
- You are running your tests on a “debug” build.
- You have built the APK and test APK with:
- ./gradlew clean app:assembleQaDebug and app:assembleQaDebugAndroidTest
- You have Android tests in a Java package called “integration_tests”
- spoon-runner-1.2.0-jar-with-dependencies.jar exists in your working directory.
- You want to use an API 23, x86_64, Google APIs enabled AVD (Note, you could easily change these, but this is what this example uses)
To download all the necessary SDK components referenced above, you can run the following command, or just download the components using the UI version of the Android SDK Manager. NOTE: These commands aren’t scripted for a CI server. You have to manually accept licensing terms:
android update sdk --no-ui --all --filter 'platform-tools,extra-android-support,build-tools-21.1.1,extra-android-m2repository,extra-google-m2repository,android-23,addon-google_apis-google-23,sys-img-x86_64-google_apis-23'
This Android test execution script will:
- Forcefully create an AVD for this test (so that it is a fresh device every time)
- Use port 6000 for the emulator (This is arbitrary, but by default, it is 5554 and assigned by Android).
- Start the emulator for the AVD on a specific port (so we can target the device by serial with “emulator-{PORT}”
- Ensure the emulator started by polling for the emulator to be booted
- Use Spoon to run the tests in a specific package
- Kill this emulator instance after our tests complete
#CONFIG
FLAVOR="qa"
PACKAGE_NAME="com.example.myapp"
AVD_NAME="integration-tests"
PORT=6000

##############################################################################

#Ensure the Test APK is built already.
TEST_APK_FILE="app/build/outputs/apk/app-${FLAVOR}-debug-androidTest-unaligned.apk"
if [ ! -f "${TEST_APK_FILE}" ]
then
	echo "androidTest APK doesn't exist, exiting.  Make sure you run ./gradlew app:assembleQaDebug app:assembleQaDebugAndroidTest"
exit
else
	echo "androidTest APK Exists, continuing"
fi

#Calculate the Serial Number of the emulator instance
SERIAL=emulator-${PORT}

echo "Creating (forceful) AVD with name ${AVD_NAME}"
# We have to echo "no" because it will ask us if we want to use a custom hardware profile, and we don't.
echo "no" | android create avd \
    --name "${AVD_NAME}" \
    --target "android-23" \
    --abi "google_apis/x86_64" \
    --skin "WXGA720" \
	--force
echo "AVD ${AVD_NAME} created."

#Start the Android Emulator
#"2>&1" combines stderr and stdout into the stdout stream
START_EMULATOR="emulator \
	-avd ${AVD_NAME} \
	-netspeed full \
	-gpu on \
	-netdelay none \
	-port ${PORT}"

echo $START_EMULATOR
$START_EMULATOR 2>&1 &

#Ensure Android Emulator has booted successfully before continuing
EMU_BOOTED='unknown'
while [[ ${EMU_BOOTED} != *"stopped"* ]]; do
    sleep 5
    EMU_BOOTED=`adb -s ${SERIAL} shell getprop init.svc.bootanim || echo unknown`
done

duration=$(( SECONDS - start ))
echo "Android Emulator started after $duration seconds."

# Get the file name of the QA APK (we need to cope with the version number changing)
APK_LIST_AS_TEXT="$(ls -t app/build/outputs/apk/*-android-debug-*-${FLAVOR}.apk)"
APK_FILES=( $APK_LIST_AS_TEXT )

# Use the Spoon utility as a test runner
SPOON_COMMAND="java -jar spoon-runner-1.2.0-jar-with-dependencies.jar \
	-serial ${SERIAL} \
	--apk ${APK_FILES[0]} \
	--test-apk ${TEST_APK_FILE} \
	--no-animations \
	--fail-on-failure \
	--debug
echo "Running: ${SPOON_COMMAND}"
${SPOON_COMMAND}

#Stop the Android Emulator
echo "Killing the Android Emulator with serial: ${SERIAL}"
adb -s ${SERIAL} emu kill
Final notes & tips:
- Because the Android Emulator’s serial number is in the format of “emulator-{SERIAL}”, it is very important to start the emulator on a specific port (using the “-port {PORT}” param) so that you can reference the image by serial number. This allows you to launch more than one emulator on the same build machine.
- Command to list available Android platforms
android list targets
- Command to list available AVDs
android list avd
- Command to list all available SDK components that you can –filter for in the “update sdk” command:
android list sdk --all --extended
If you have any questions or comments, let me know on Twitter at @HandstandSam.

