SQLDelight is most well known as a Kotlin multiplatform database library. As an Android Developer, the most compelling reasons to use SQLDelight are:
- Kotlin first
- SQL first
- Typesafe generated code
- Unit tests don’t require an Android device
Documentation for how to use SQLDelight on just Android (without Kotlin mutliplatform) is lacking, so I wanted to create this guide to get people going fast on just Android. This example is here to get you started, but does not reflect best coding practices. I did this in order to make this quick start guide concise, and approachable.
1) Add Gradle Plugin to the buildscript classpath
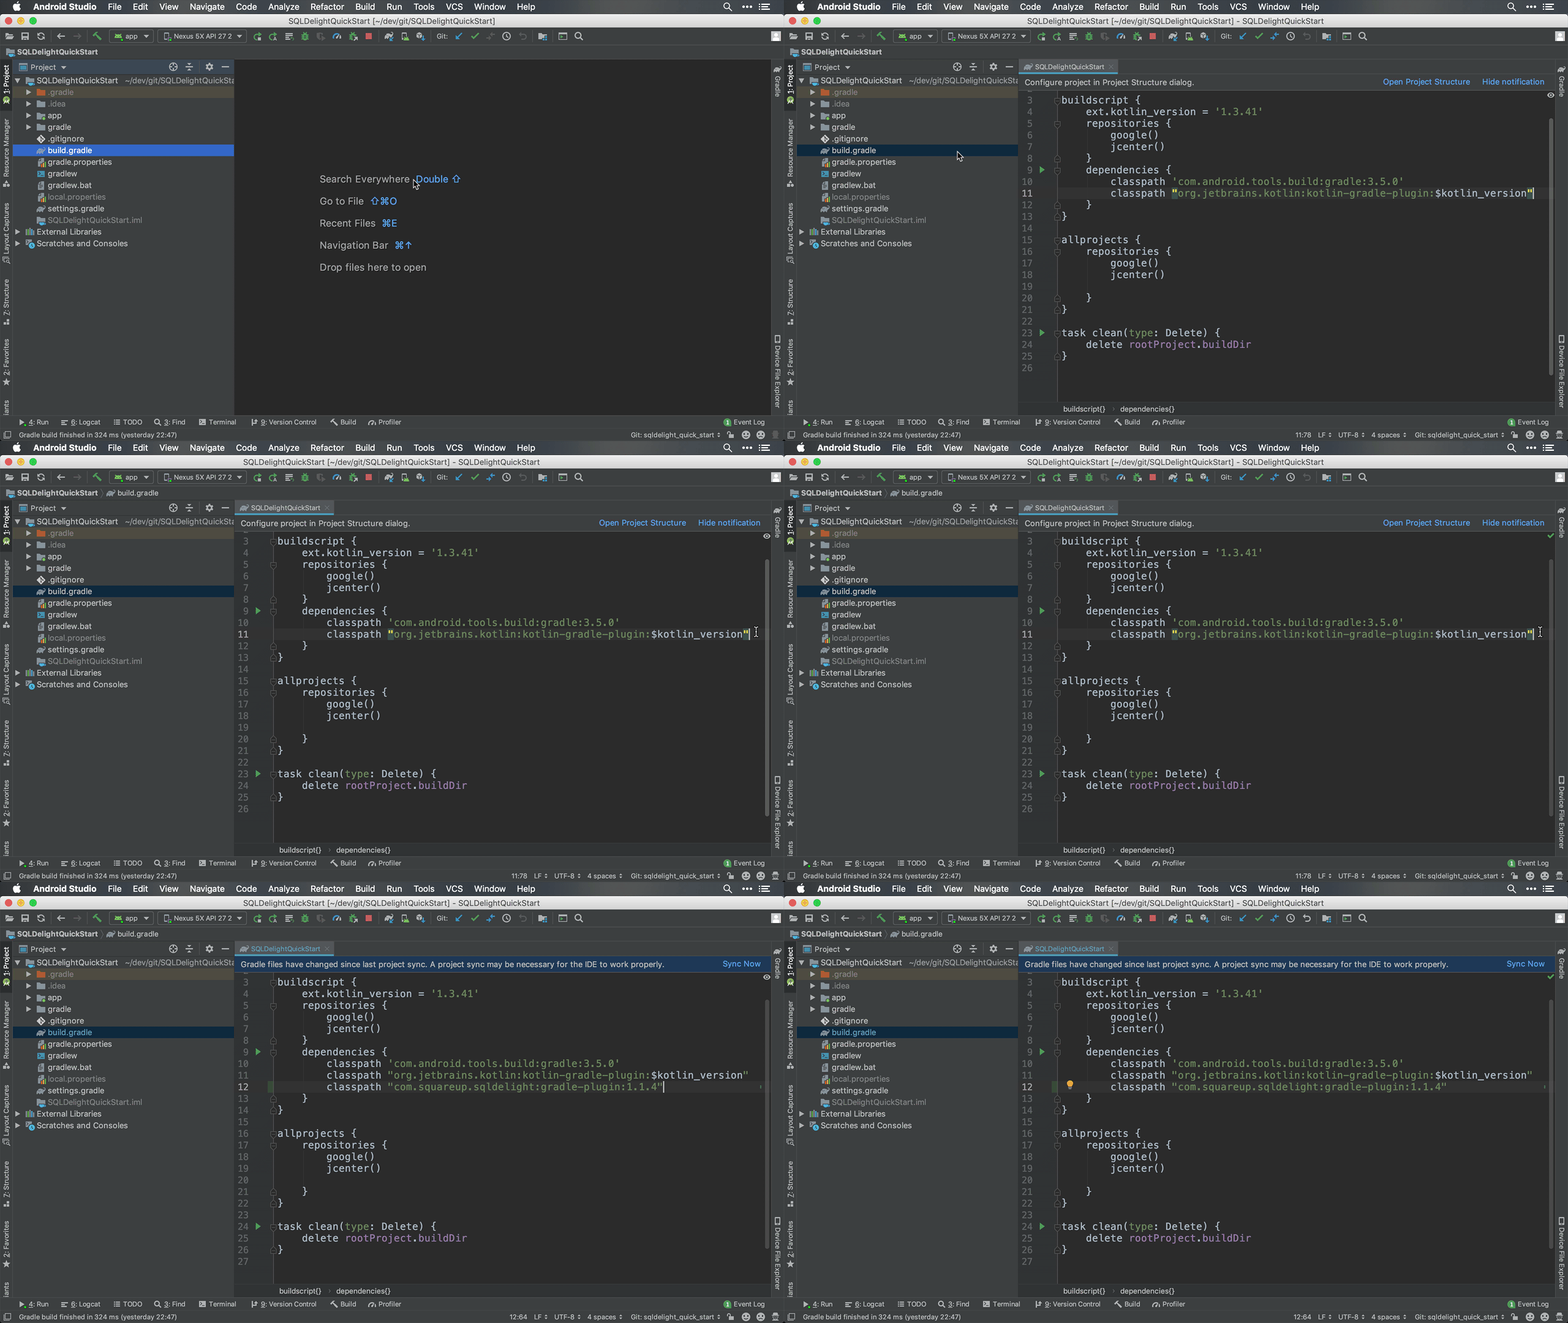
In your project’s root build.gradle file, add the following dependency under buildscript dependencies.
classpath "com.squareup.sqldelight:gradle-plugin:1.3.0"
2) Apply the Gradle Plugin to your App or Module
You need to add the SQLDelight Gradle Plugin to your app or module because SQLDelight uses code generation from SQL files (*.sq), instead of code generation based on annotations (kapt). This gives us incremental builds, but requires us to add a plugin to our root build.gradle file. By doing code generation from SQL files, SQLDelight can generate code that works on any platform, because at the end of the day you are just executing SQL statements.
apply plugin: "com.squareup.sqldelight"

3) Add/Write the SQL (.SQ) File
You need to create a source folder for your SQL (*.sq) files at “src/main/sqldelight” folder, next to “java” or “kotlin” source folder. In this example, we’ll be representing a “item” in a shopping cart (Example from Shopping App) and the ItemInCartEntity.sq file in the following location:
MODULE_OR_APP/src/main/sqldelight/com/handstandsam/sqldelightquickstart/ItemInCartEntity.sq
ItemInCartEntity.sq
CREATE TABLE itemInCart (
    label TEXT NOT NULL UNIQUE PRIMARY KEY,
    image TEXT NOT NULL,
    quantity INTEGER NOT NULL DEFAULT 0,
    link TEXT
);

selectAll:
SELECT *
FROM itemInCart
ORDER BY label;

insertOrReplace:
INSERT OR REPLACE INTO itemInCart(
  label,
  image,
  quantity,
  link
)
VALUES (?, ?, ?, ?);

selectByLabel:
SELECT *
FROM itemInCart
WHERE label = ?;

empty:
DELETE FROM itemInCart;

deleteByLabel:
DELETE
FROM itemInCart
WHERE label = ?;

4) Install the SQLDelight Android Studio Plugin
The Android Studio Plugin is not required, but is super helpful for syntax highlighting, code completion, warnings and navigation.
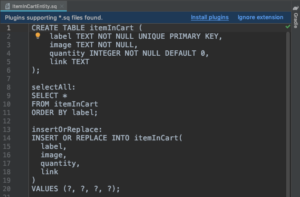
.sq file without the SQLDelight Android Studio Plugin
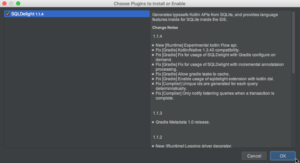
Adding the SQLDelight Android Studio Plugin
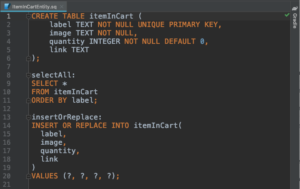
A .sq file after the SQLDelight Android Studio Plugin is Installed
5) Add the Dependency Used for in Memory Unit Tests
You need the JdbcSqliteDriver for Unit Tests. This allows you to run your database tests without Android device. This means blazing fast tests without the hassle of connecting a device!
Add the following Unit Test dependency:
testImplementation "com.squareup.sqldelight:sqlite-driver:1.3.0"

Note: You don’t have to write unit tests and could technically skip this and the next step, but do yourself the favor and write tests from the beginning.
6) Write Unit Tests
Now that everything is set up, you should write a unit test that runs on your computer to make sure it’s all working. This is a huge benefit over the Room library that comes with Android Jetpack because we can completely decouple ourselves from knowing what Android is. This allows us to verify our setup and to have a quick feedback loop to ensure everything is working.
Use the JdbcSqliteDriver for an in memory version of your database for unit tests to avoid state between tests. However, be sure to also call Database.Schema.create(sqlDriver) or your in memory tests will not work. In order to make sure I call it, I use an “apply” to make sure I do it along with creating an instance of the driver.
private val inMemorySqlDriver = JdbcSqliteDriver(JdbcSqliteDriver.IN_MEMORY).apply {
    Database.Schema.create(this)
}
Here is the full ItemDatabaseTest.kt file containing the Unit Test.
package com.handstandsam.sqldelightquickstart

import com.squareup.sqldelight.sqlite.driver.JdbcSqliteDriver
import org.junit.Assert.assertEquals
import org.junit.Test

class ItemDatabaseTest {

    private val inMemorySqlDriver = JdbcSqliteDriver(JdbcSqliteDriver.IN_MEMORY).apply {
        Database.Schema.create(this)
    }

    private val queries = Database(inMemorySqlDriver).itemInCartEntityQueries

    @Test
    fun smokeTest() {
        val emptyItems: List = queries.selectAll().executeAsList()
        assertEquals(emptyItems.size, 0)

        queries.insertOrReplace(
            label = "Pineapple",
            image = "https://localhost/pineapple.png",
            quantity = 5,
            link = null
        )

        val items: List = queries.selectAll().executeAsList()
        assertEquals(items.size, 1)

        val pineappleItem = queries.selectByLabel("Pineapple").executeAsOneOrNull()
        assertEquals(pineappleItem?.image, "https://localhost/pineapple.png")
        assertEquals(pineappleItem?.quantity?.toInt(), 5)
    }
}

7) Add the SQLDelight Android Driver Dependency
Now that we have the plugin working and unit tests passing, we need to integrate with our Android app. Add this “implementation” AndroidSqliteDriver dependency on SQLDelight.
implementation "com.squareup.sqldelight:android-driver:1.3.0"
If you only have an “app” module, then add it to that, but if you are in a multi-module project, I would highly suggest creating a “db” module (or similar) for this code.

8) Write your SQLDelight Android Code
In order to just show this working on Android, I pasted the code into the MainActivity, which is not what you should do, but it helps you validate that it’s actually working on Android.
You will need to use the AndroidSqliteDriver in order for SQLDelight to correctly write to the Android database. The JdbcSqliteDriver was helpful for allowing us to do in-memory unit testing, but it only keeps the database in memory, and would never save between app launches.
val androidSqlDriver = AndroidSqliteDriver(
    schema = Database.Schema,
    context = applicationContext,
    name = "items.db"
)

val queries = Database(androidSqlDriver).itemInCartEntityQueries

val itemsBefore: List = queries.selectAll().executeAsList()
Log.d("ItemDatabase", "Items Before: $itemsBefore")

for (i in 1..3) {
    queries.insertOrReplace(
        label = "Item $i",
        image = "https://localhost/item$i.png",
        quantity = i.toLong(),
        link = null
    )
}

val itemsAfter: List = queries.selectAll().executeAsList()
Log.d("ItemDatabase", "Items After: $itemsAfter")

9) Run The Code on Android
Hit the run button and filter Logcat so you can see that you have successfully added and retrieved data from SqlDelight on Android!

10) Peek at the “Magically” Generated Code
It’s cool to see where the plugin puts the code it generates in “build/sqldelight” and it may help you understand how SQLDelight works. The generated code is super easy to read since it uses Kotlin Data Classes, and the SQL code is just taken almost directly from your .sq file that you already wrote, but wrapped in a type-safe way.

Conclusion
These steps are all you need to get started with SQLDelight 1.x on Android. Here is a pull request that contains all the changes mentioned in this post: https://github.com/handstandsam/SQLDelightQuickStart/pull/1/files. This article was written when version 1.1.4 was released, but has been updated to version 1.3.0. Check out the SQLDelight change-log to see the latest released version.
Enjoy the beautiful generated Kotlin code which is generated from our .sq files, and enjoy validating your code via unit tests that can run without an Android device!
Related Links:
